How To Customize 404 Error Page

What exactly is a 404 page?
A 404 error code is a HTTP error response code. The error lets you know that the page or link that you’re looking for, isn’t at the location that you’re looking in. The important differentiator about 404 pages is that it shows that a particular page in a website is broken. Not the whole website itself.
When is a 404 page shown?
The page could be shown for one or more of the following reasons:
Page no longer exists. If you’ve deleted a page on your site but a user has followed a bookmarked link or a old link from another site.
URL change. If you or your team have changed the URL of a page, then it can generate a 404 error
Domain migration. A 301 redirect should redirect old pages, but if one of the pages has been forgotten, then it can cause a 404 error.
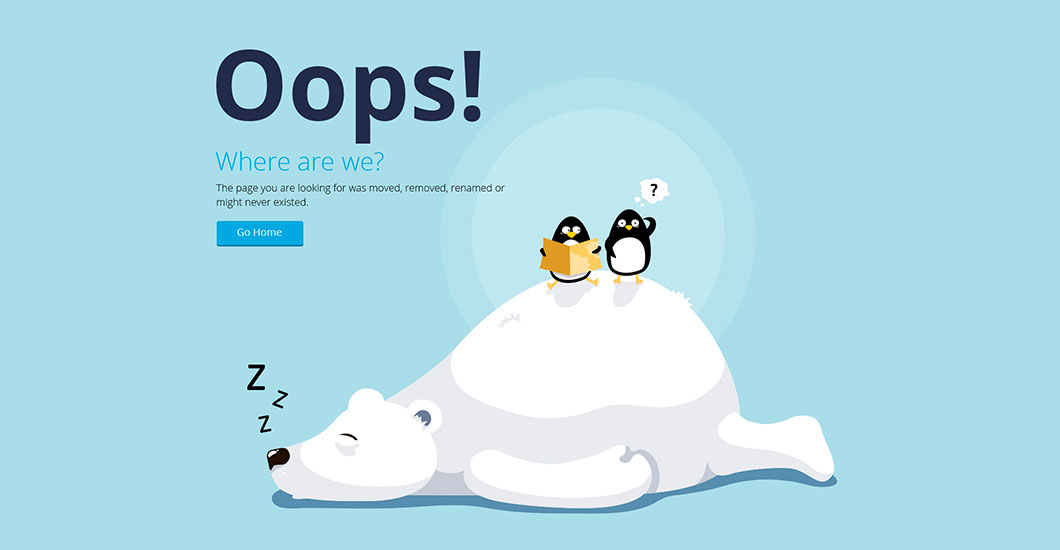
For example, let’s say someone has bookmarked a link to an old product on your site and you’ve removed that page. When they click on the bookmark the link will take them to your site, but instead of seeing the page they’ve booked marked, they’ll see a generic error page like:
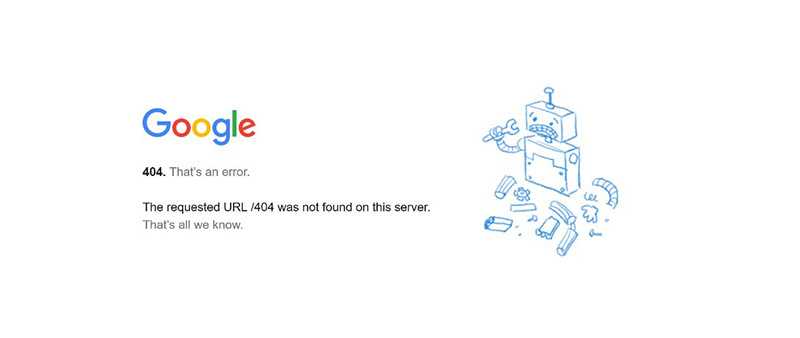
Having something like this showing up is definitely not something you want to see on your site because it can scare users into thinking that either the whole site isn’t working well, or that it’s an untrustworthy or potentially fraudulent site.
But a 404 page is a vital part of any good website. And a good 404 page can be an advantage instead of a risk.
What should a good 404 page do?
While the generic 404 page that comes with most browsers can be quite blunt, a good 404 page should:
1. Humbly accept the error.
2. Give the user the tools and confidence to keep browsing the site or to be able to search for what they want.
3. Some sort of feedback/comments section so that users can notify you of broken/missing links.
You also have to make sure that the 404 page has the same aesthetics and theme as the rest of the site. Keeping things looking the same goes a long way to reassure the user that the site isn’t broken. When designing a custom 404 page, try to keep things like the top level menu and the logo still visible. It’s also recommended to add a search bar to help the user find what they are looking for.
Because you’re customising your 404 page. It doesn’t hurt to add some humanity to the page. Jokes, meme’s or even games let people know that there are human beings behind the site and turns an annoying mistake into a bit of fun.
Good examples of fun 404 pages:
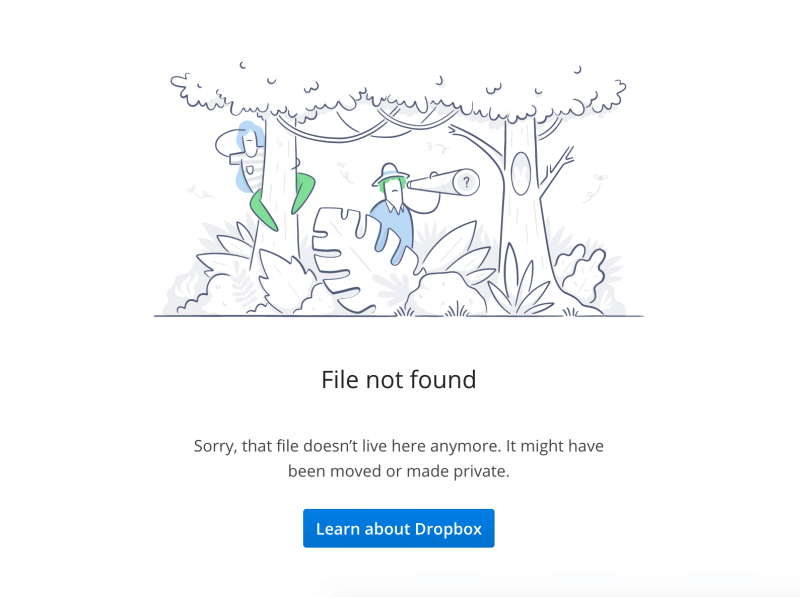
Dropbox keeps it simple with a cute illustration and a link to more info. However we think it could have had something more helpful like a search or help feature.
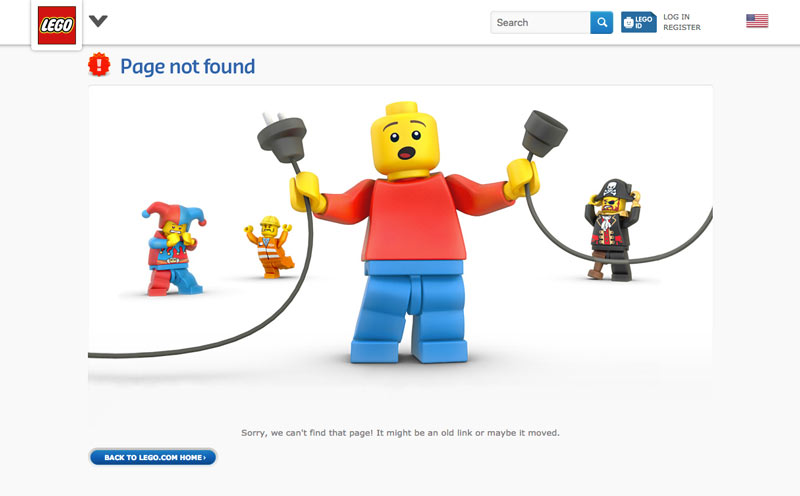
Everyone’s favourite toy Lego has a bit of fun with it’s 404 page. Notice the search function and the ‘back to home’ link.
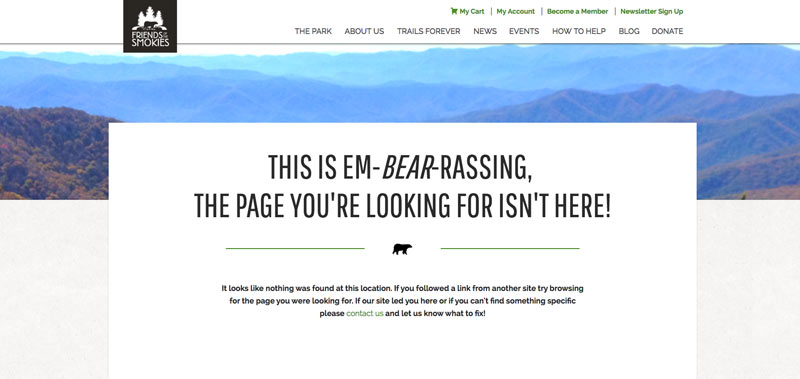
Friends of the Smokies love the puns on their 404 page. They also have a link to their ‘contact us’ section.
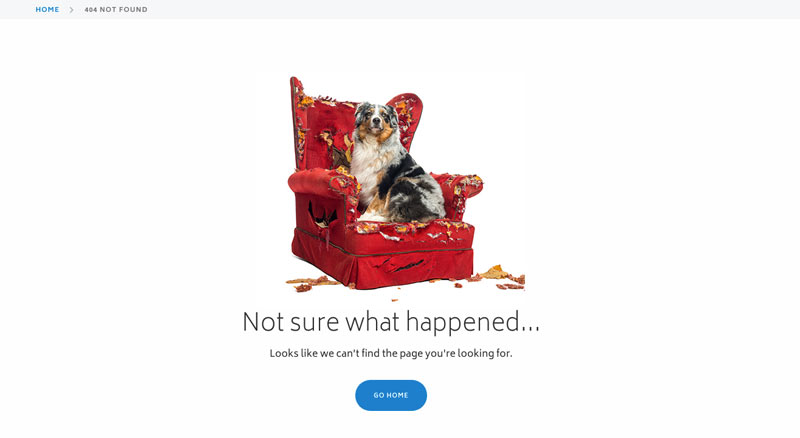
Blueport commerce uses an image most dog owners can relate to. While keeping enough tools to keep you browsing.
How to create a good 404 page:
If you’re coding a site directly, creating a 404 page requires an error page in the root directory of the website and then modifying the HTML to return a specific message. The actual steps are a little more involved than that, but you get the general idea.
However if you’re using WordPress and one of it’s relevant themes, the process is a lot easier and a from a design perspective you’ve got a lot more flexibility.
Customising the Divi 404 page:
Creating a custom 404 page in WordPress is very straightforward. Even more so if you’re using the Divi theme.
WordPress themes comes with a standard 404 error page which can be edited. But Divi theme users get a 404 page that features design elements of the theme as well as menus and layouts.
You can customise the standard Divi 404 page even further. But to prevent any potential problems down the track, we recommend creating a new file in the theme folder of your child theme called ‘404.php’. If you’re not using a child theme we recommend setting that up first. There is a great article on setting up a child theme from Nick Roach.
Once you’ve setup your new 404 page, you need to add some basic placeholder code:
|
1 2 3 4 5 6 7 8 9 10 11 12 13 14 15 16 17 18 |
<?php get_header(); ?> <div id="main-content"> <div class="container"> <div id="content-area" class="clearfix"> <div id="left-area"> <article id="post-0" <?php post_class( 'et_pb_post not_found' ); ?>> <h1><?php esc_html_e('Page Not Found','Divi'); ?></h1> <p><?php esc_html_e('Whoops. Looks like the page you were looking for doesn\'t exit. Maybe try searching for something else using the search bar above', 'Divi'); ?></p> </article> <!-- .et_pb_post --> </div> <!-- #left-area --> <?php get_sidebar(); ?> </div> <!-- #content-area --> </div> <!-- .container --> </div> <!-- #main-content --> <?php get_footer(); ?> |
This page will keep all the elements of your theme that would show up when you’re creating a new page. Note the customised text apologising for the error and the recommendation to use the search bar.
Now that you’ve created the main page you need to add in the features that you want it to have. You’ve already got the core elements of the page. And here are some other things to consider including:
• Search bar
• FAQ link
• Product page link
• Most recent blog posts
• Contact us
• Widgets
To know what content should go in the page, you need to understand why users are trying to get to a specific page and what content would help them.
To help alleviate some of the frustration and annoyance that comes with hitting a 404 page. You could also look at adding fun elements like:
• A gif or meme
• A pun or play on your companies branding
• Games
• A joke that only users/fans would understand
If you’re not that confident in setting up a whole page yourself. There are a couple of other options available:
Create a page template using Divi Builder.
Instead of coding the page manually, you can build it using Divi Builder. Once you’ve got the page looking how you’d like it to, you need to save the page as a draft and then use it as a 404 page.
SJ James from Divi Space has got an excellent article on exactly what is required, but essentially what you need to do is:
1. Create a folder at root level of the child theme folder called ‘includes’ (If you’re using a child theme and it already has that folder, you can use that.)
2. Create a file inside the ‘includes’ folder called ‘no-results.php’
3. Open up the ‘no-results’ file and enter in the following code:
|
1 2 3 4 |
<div class="entry"><!--If no results are found--> <!--?php $id = ###; $p = get_page($id); echo apply_filters('the_content', $p->post_content); ?--></div> <!--End if no results are found--> |
By adding the code, what you’ve done is overwritten the standard template with one of your own design. Now all you’ve got to do is to create a new page which will be your 404 page. Using the page builder, add in your own design/content in the page. Make sure you record the ID of the page you’ve just made.
Now you’ll need to edit the ‘no-results.php’ page you created earlier. Go to Appearance → Editor, and look for the ‘no-results.php’. Open up the file and replace the the hashes ### with the ID of the custom 404 page you’ve just created.
Use 404 plugins
Instead of building a page yourself, there are plugins available for the Divi theme that redirect 404 errors to another page of your choice. However, you will have to build a custom 404 page before you activate the plugin.
A good plugin for Divi users is the 404 builder from Divi Cake. It works with almost every child theme and you can use existing Divi layouts.
Depending on the type of website you have, a redirect plugin may not be the best option. For example, if you run a service based business and have recently gone through an overhaul, it might be better to deliberately tell people that you’re no longer offering a certain service.
Use a widget sidebar
Widgets are handy tools that can be used to enhance any WordPress website. But they can also be adapted to tackle 404 errors as well. Full credit of this idea goes to Justin Tadlock who first proposed it on his own site way back in 2009.
Widgets are normally drag and drop content blocks that you can use in the page builder. They feature pre-setup tools such as recent posts, social media feeds. Elegant Themes has extra widgets than what comes in the standard WordPress bundle.
By setting up a widget area dedicated to a 404 page, you can add any content you need for a custom 404 page quickly and easily.
The first thing you’ll need to do is to setup a widget area. Elegant Themes makes this very easy through these steps:
1. Go to Appearance -> Widgets in the WordPress admin.
2. Click on the ‘Create new Widget Area’ on the right, bottom side.
3. Name the area “404” and then click Create
4. You’re done!
Not using Divi or anything else from Elegant Themes? It’s a little harder I’m afraid. Follow the steps outlined in this article for more details.
Noel Anthony
Noel Anthony is a copywriter and marketer currently based in Melbourne, Australia. Specialising in the sustainability and automotive markets, he has always held an interest in web and digital technologies and has built websites from scratch, in Wordpress and using Divi. In his downtime he gardens and builds cars.


Hi Noel, great post.
In the part that you indicate
“3. Open up the ‘no-results’ file and enter in the following code:”
the code does not appear.
I have tried with this
post_content); ?>
but it doesn´t work in Child Theme Marvel.
Regards
Hello,
Thank you for reporting that. We have fixed the code so it is now visible.
If you use Marvel theme you don’t need to add any code. Marvel Divi Child Theme has already built in the 404 error page builder. You can build your 404 page using Divi Builder and then select it in Divi→Theme Options→Marvel