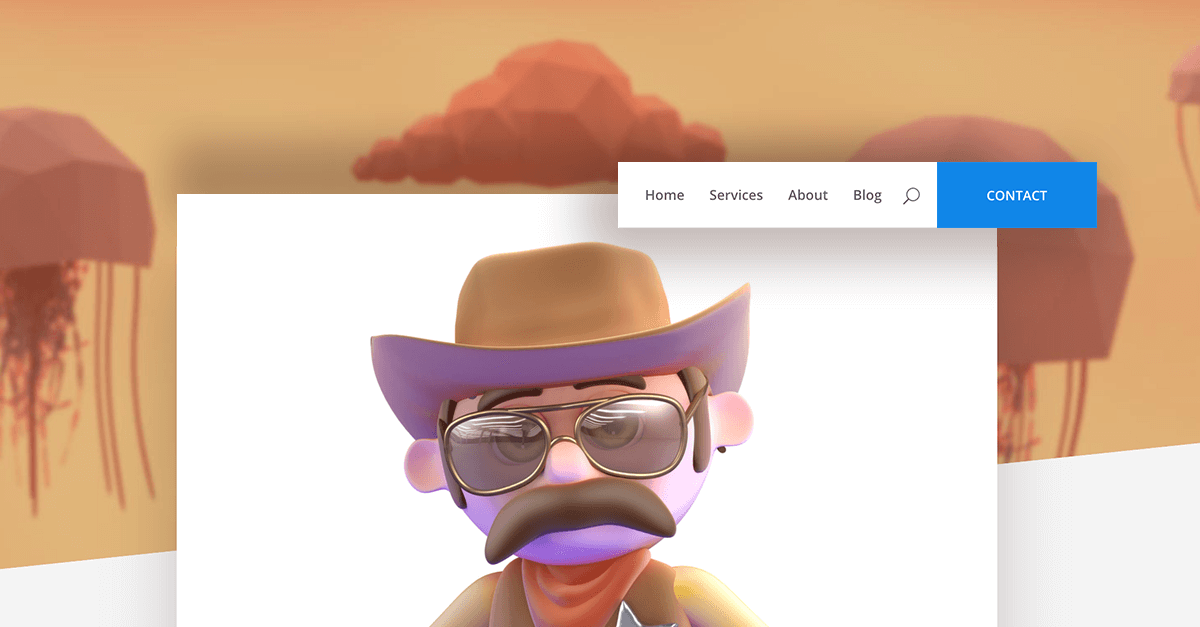
How to Add Interactive Shadows to Divi Website

CSS box-shadows are boring. Why? Because in real life, shadows move. In the real world, shadows are dynamic – in other words, they move around relative to a light source. But with web design, your box-shadows are unfortunately static – they don’t move. Boring.
What if I told you there was a way to make your web shadows a little more life-like? Enter Shine.js, a fun Javascript library that is easy to use with your Divi site and can inject some life into your website. With Shine.js, you can make dynamic, 3 dimensional shadows that respond to your mouse cursor, kind of like how a real shadow would with a lamp. Plus, using some custom code I will be sharing with you, it can even respond to gyroscopes!
Why do you need dynamic, 3-D shadows for Divi?
Because it looks cool as heck! The key to making websites stand out is using design elements that other websites have not yet adopted. This is one of them! Shine.js is a fun, new micro-interaction you can add to your Divi website to breath some life into it and make it enjoyable for visitors. So if making your designs look cool as heck is a priority for you, keep reading!
Is there a WordPress plugin that can do all this for me?
Unfortunately, not at the moment. Shine.js is offered purely as a javascript library, so you’ll need to code it yourself. Thankfully, in this tutorial I aim to make it as simple as possible to follow along!
Let’s get started making shadows fun with Javascript and Divi!
Getting Started
To begin, download the shine.min.js file from the Github repo. You’ll want the minified version (hence the “min” in the name!) as it saves some file size by removing unnecessary spaces from the file. It is also preferable to have a Divi child theme on your website for this tutorial, but it is not strictly necessary. Lastly, you’ll need to know how to upload files to your WordPress host.
Using FTP or your cPanel, upload the shine.min.js file to your file directory. You can generally place it wherever you want, just remember the file path! Or, if you have a child theme, place the shine.min.js file inside your child theme folder. For the purpose of this tutorial, upload it directly to your child theme folder, not inside any subfolders or anything. Once it is uploaded, we’ll need to include it in your website.
Loading up Shine.js on your Divi website.
There are two ways to add a file in Divi – the “easy way” using Divi’s integration settings, and the “proper way” using a child theme and some PHP. Don’t worry about the PHP bit, I’ve got you covered as well.
The easy way
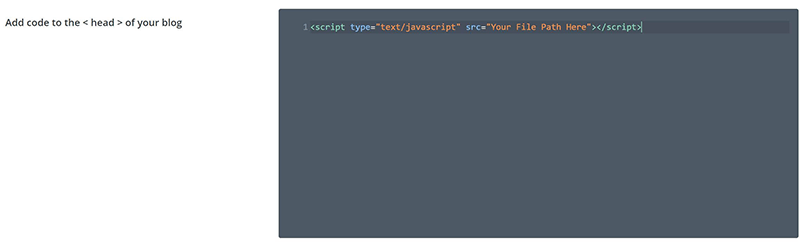
Go to the Divi→ Theme Options → Integrations → Head, and paste in this code. This is where you’ll need that file path I mentioned!
|
1 2 3 |
That effectively loads the file on the frontend, although developers tend to frown on this method. If you’re up for learning some PHP, read the next part! If not, you can skip ahead to creating your shine.js element.
The proper way
This is where we involve some PHP code! You’ll only be able to use this method if you have a Divi child theme.
In the WordPress dashboard, go to Appearance > Theme Editor and then look for a file in the sidebar called functions.php. Add this code at the bottom of your functions.php file to load up shine.js.
|
1 2 3 4 5 6 7 8 9 10 11 |
function shine_enqueue() { wp_enqueue_script( 'shine-js', get_stylesheet_directory_uri() . '/shine.min.js', array( 'jquery' ) ); } add_action( 'wp_enqueue_scripts', 'shine_enqueue' ); |
WARNING: if you see some code that looks like ?> at the end of your functions.php file, you’ll need to paste the above code before that symbol. Otherwise the code won’t work.
And you’re done! The library is now loaded on the frontend of your Divi website.
Create a Shine.js element
You’ll need to choose something to apply your dynamic shadows to. The key here is minimalism. Choose just one item on your page to have dynamic shadows, as having too many can hurt your scroll performance as well as cheapen the effect.
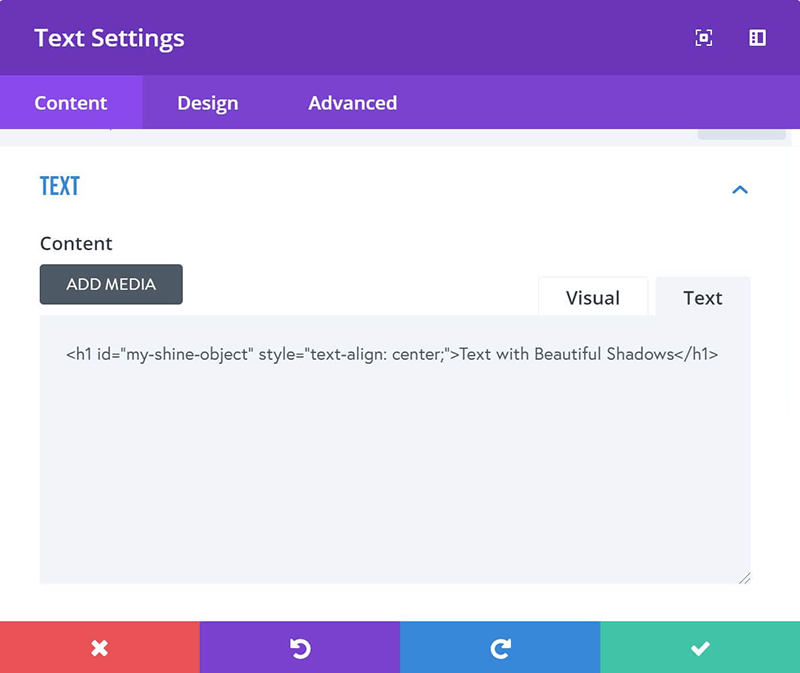
In this example, I’ll be creating an <h1> with the shadow effect.
Using a text module in the Divi builder, add your <h1> and whatever text you want. Then switch over to “code editor” mode. Here you’ll need to edit the <h1> you just created to include a custom CSS ID for shine.js to work.
Edit the code so it looks like this and you’re done!
|
1 2 3 |
<h1 id="my-shine-object">Your text here</h1> |
Making Shine.js work.
We’re almost done adding shine.js to your website! Now, we just need to initialize the Javascript function.
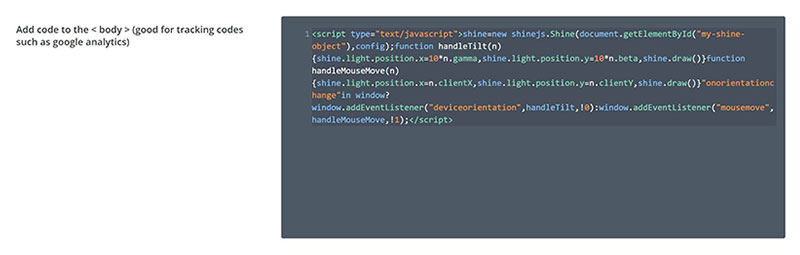
Go to Divi → Theme Options → Integrations → Body and add this code in:
|
1 2 3 4 5 6 7 8 9 10 11 12 13 14 |
shine = new shinejs.Shine(document.getElementById("my-shine-object")); function handleTilt(n) { shine.light.position.x = 10 * n.gamma, shine.light.position.y = 10 * n.beta, shine.draw() } function handleMouseMove(n) { shine.light.position.x = n.clientX, shine.light.position.y = n.clientY, shine.draw() } "onorientationchange" in window ? window.addEventListener("deviceorientation", handleTilt, !0) : window.addEventListener("mousemove", handleMouseMove, !1); |
And voila! Shine.js should be working on your website flawlessly.
Bonus: Making Shine.js work on other pages.
Now that shine.js is included in your website, you can easily add dynamic shadows to other pages as well. Simple add my-shine-object as a custom CSS ID on whatever element you want to apply them to, and you’re done!
Ethan Chin
Ethan is a self-taught web developer who enjoys experimenting with code a lot. In his free time he can be found playing with PHP and Javascript to create cool stuff for the web. When he isn't coding, he can often be found photographing beautiful landscapes around the world.
Use coupon code SLIDER15 at checkout!


Thanks Ethan for this post.
Great post Ethan! Generally speaking, doesn’t this limit shine.js being applied to only a single element on every page since ID on each page should be unique? Can it be introduced as a class so it can be used on multiple objects?
Hey Colin,
Thanks for checking out the post! You’re right that using an ID for this would apply it only to one element. However, it is pretty costly for the browser to render those fancy shadows, so scroll performance can sometimes suffer. Hence I don’t think it’s a very good idea to have more than one on any given page.
Great and simple to implement, especially with your post. Thank you so much, very cool. Well thought out too, using an ID instead, to keep the overachievers from smacking performance. It made a nice addition to my contact form footer, and I imagine Ill leave it for a bit.
Thank You!
Ethan this looks great on the text, I will definitely use this tutorial. Great work.
Great and easy way. Thanks