How To Set Up Google Analytics On WordPress


One of the most vital parts of running your WordPress website is to learn how to install Google Analytics on it. This is especially true if you’re looking for a way to improve the performance of your site. The plugin can provide you with valuable details about everything that’s working on your site as well as don’t. And by knowing these, you’ll be able to make the right decisions for its growth and success.
Google Analytics is one of the best tools you can use to obtain insight about who visits your WordPress website. Likewise, learn information like their location and what they’re looking for once they land on your site.
This invaluable app can help you determine the type of content you need to focus on for your blog. Plus, it’s entirely free and easy to set up. You can take advantage of its benefits without the need to tweak the code of your site. And once you properly configure it, you won’t even notice that it’s there.
Why Is Analytics Important For My Site?
Whether your WordPress is e-commerce for your startup, a complex one for a large company, or a personal blog, your main goal is to drive more traffic to it. Likewise, you can share content on your site to engage your current and potential customers.
To reach your goals for your site, you need to optimize each of its elements keeping your target audience in mind. No doubt that your marketing efforts and keeping your SEO in tip-top shape are helpful, but if you don’t track your website’s data, it’ll be hard for you to know which among your strategies are working. The last thing you want is to spend a lot of time and effort on something that’s not benefitting your site.
So if you want to gain insights into the behavior of your visitors that can point your site in the right direction, there is a plethora of analytics tools and plugins you can use. Any of these can measure several aspects of your WordPress website’s performance. However, Google Analytics is on top of that list. Not only is it entirely free, but it’s also comprehensive and can provide you with customizable reporting.

What Is Google Analytics?
Google Analytics is a popular free analytics tool that can help you keep track of your site’s traffic. Installing the plugin is pretty simple, and it’ll give you access to all the information you want and need the most.
Its free plan has almost all the features you need no, matter the size of your business. How it works is straightforward as well. You only need to include a little line of Javascript tracking code on your WordPress site, and every visitor executes this code. Then, the info is going to be sent immediately data on your dashboard, accumulated into visual.
Some of the information Google Analytics gathers are the following:
- This tells who your users are and includes their gender, age, interests, and so on.
- Session duration. It’ll give you an idea of what they do on your site, as well as the number of interactions they have with it and search terms they use.
- Where they come from. It will show you what site or social media they visited to reach your site.
- Why they leave. This will give you an insight into the order of pages they visited, from first to the last. Likewise, it’ll show you the bounce rate.
This kind of data will be able to provide you with a clearer picture of your audience. You’ll also have a better idea about what you can do to further enhance their experience.
Google Analytics does not only gather numbers. You also get charts, graphs, and interpretations in simple language. Although it offers a lot of complex features, such as conversion tracking, you don’t need to be an expert data analyst to utilize it.

How To Sign Up With Google Analytics
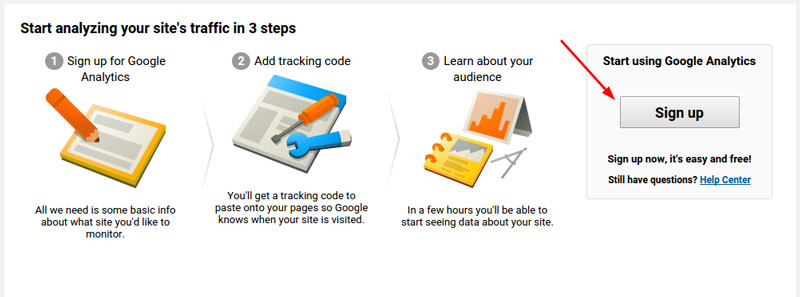
You don’t need to pay anything to sign up for Google Analytics. You only need your Gmail or Google account. Signing up is pretty simple. Simply follow these instructions:
- Step 1: Sign up on the Google Analytics website. If you have Google or Gmail account, use it to sign-in. If not, you need to create one first.
- Step 2: After signing in, you’ll see a screen where you’ll sign up to Google Analytics itself.
- Step 3: Once you’ve signed up, you’ll be asked to choose between web, apps, and apps and web on the next screen. Select web, then enter your website’s name and URL, as well as your country and time zone. Click next and then agree to the Google Analytics terms and service by clicking on the “I Agree” button.
- Step 4: On the next screen, you’ll see your Google Analytics tracking code. Depending on the method of installation you choose, you’ll need to enter this code in your WordPress site, so make sure to copy it.
How To Add Google Analytics Using A Plugin
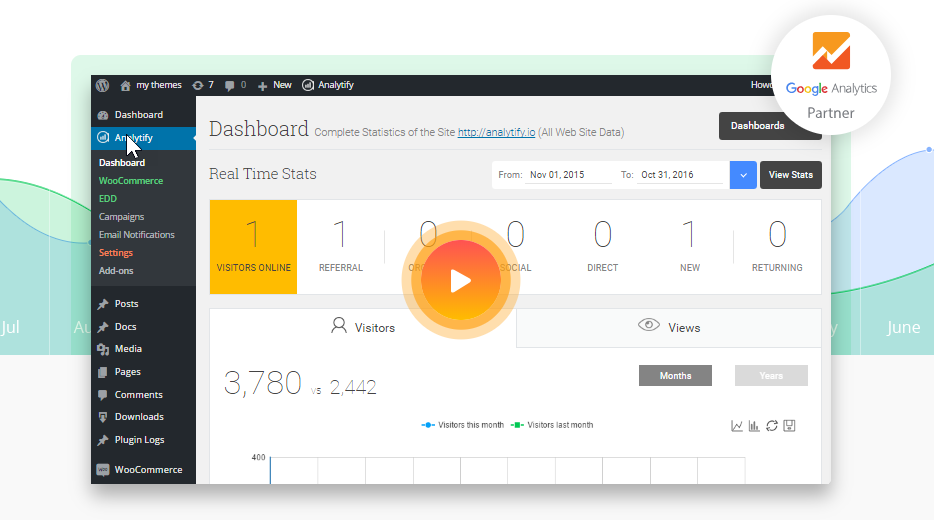
The quickest and easiest way to add Google Analytics to your WordPress website is by installing a plugin such as Monster Insights or Google Analytics Dashboard Plugin by Analytify. With a few simple clicks, you’re done. You don’t even need to deal with difficult codes. Additionally, Google Analytics plugins have features that you may find useful.
Furthermore, you can install most add ons utilizing the WordPress plugin repository. You can access this from the plugin’s main page or your admin dashboard under the Plugins tab. Additionally, you can directly download the plugins in there as well. Just type the name of the plugin in the search bar and click Install Now.
If you downloaded a third-party plugin or from the repository, navigate to Plugins – Add New, and then click Upload Plugin located at the top. Whatever means you choose, you’ll find the new plugins after installation under Plugins > Installed Plugins. This is where you can activate, deactivate, and remove any of them if needed.
Manual Installation Of Google Analytics
You need to have at least some basic coding knowledge when adding Google Analytics on your WordPress site manually. That’s why it is advisable that only advanced users familiar with coding should apply this method. Moreover, ensure that you’re using a child theme. If you don’t use a child theme, all the changes you make will be lost or overwritten in the main theme once you update your theme.
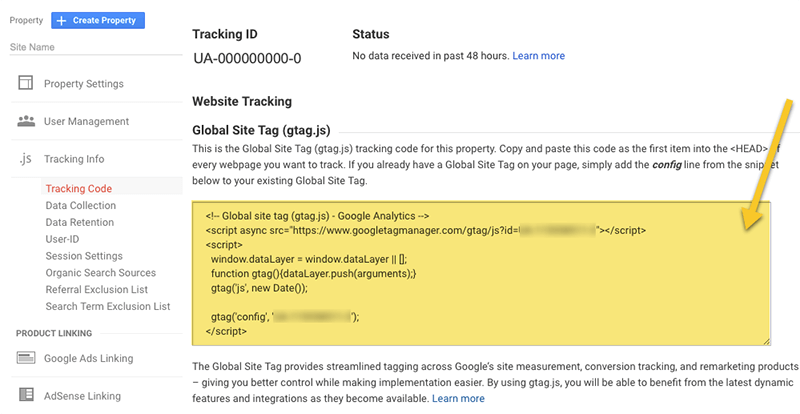
Before going to the theme files, make sure to copy your Tracking Code from the dashboard of Google Analytics. Once you have it, just follow these simple steps:
- Step 1: Open Google Analytics. Navigate your way to Admin → Create Property → Tracking Info → Tracking Code. Do not close the page.
- Step 2: Go to your WordPress dashboard. Then go to Appearance → Editor
- Step 3: Open the child theme header.php file by clicking Theme Header. You can also access the file through FTP if you turned off your internal editor. You can find this under wp-content → themes → your theme.
- Step 4: Go back to the page of Google Analytics and look for Global Site Tag (gtag.js). Copy your tracking ID code and paste it above the tag . Then, click Update File.
How To Add Google Analytics To Your Divi Website Without Plugin
Divi is one of the most popular WordPress themes today, and there’s plenty of reasons why. First, it has a drag and drop builder, allowing you to design and customize every element of your website with ease.
On top of that, Divi makes the process of adding Google Analytics to your website hassle-free. Just follow these simple steps on how to install Google Analytics on your Divi site:
- Step 1: Sign in to your Google Analytics account. If you’ll use the plugin for the first time, you will be asked to create a new account. If you’re a previous user, you can add a new account in the admin section.
- Step 2: Fill out all the necessary information. Then, scroll down and look for Data Sharing Settings. It is advisable to check all of it. Then, click Get Tracking ID.
- Step 3: After this, a pop-up window will appear asking you to accept Google’s Data Processing Terms. Once you’ve accepted the terms and finish creating your account, you will be directed to a page where you’ll see your Google Analytics Tracking ID. You can also access it by going to Admin → Create Property → Tracking Info.
- Step 4: Copy your Tracking ID code, including all opening and closing script tags.
- Step 5: Go back to your WordPress website’s dashboard and navigate to Divi Theme Options → Integration.
- Step 6: Scroll down to the text area where it says “Add code to the < body > (good for tracking codes such as google analytics).” Paste your Google Analytics Tracking ID here and click Save Changes.

Installing Google Analytics on your WordPress website is a good way to boost your marketing strategy, whether you want to create brand awareness or bring more customers in. The free plugin is versatile, extremely scalable, and will present you with every stat valuable for the success of your site.
If you find this article helpful, spread the word by sharing it. And if you have something in mind or want to add, do not hesitate to leave a comment below.
Aileen Cuaresma
Aileen is a Technical and Creative writer with an extensive knowledge of WordPress and Shopify. She works with companies on building their brand and optimizing their website. She also runs a local travel agency with her family. On her free time, she loves reading books, exploring the unknown, playing with her two adorable dogs, and listening to K-pop.

Get 10% discount with coupon code ESTATE10


google analytics is really a very helpful tool it helps in getting the exact idea about the website, hi there! thanks for sharing this amazing article with us, It very informative and I am bookmarking it for future reference.