Gardenly Documentation
This version of Gardenly is fully compatible with versions 3.0+. Some features or elements may not be compatible with previous versions. Please ensure that you’ve downloaded the latest version of Divi.
Please note:
Ensure you have the Divi Theme installed and activated prior to installing the Ally Child Theme.
To avoid any issues during installation it is highly recommended that you use this child theme on a fresh installation of WordPress.
Step 1: Download Gardenly files
After purchase, download the files from your account section or click the download link in your purchase confirmation email.
Step 2: Unzip Files
Unzip the unzip_this_first_gardenly.zip file to your computer, it contains the following files:
• Gardenly.zip – the Gardenly child theme files
And in Imports folder:
• imports-manual.zip – backup of all imports file for manual installation (optional)
• Gardenly Divi Bulder Layouts.json – Gardenly page layouts
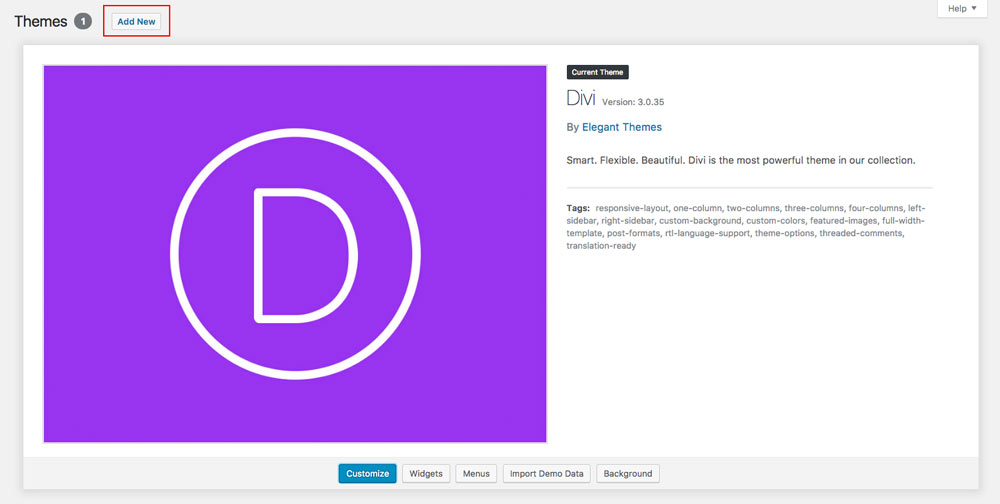
Step 1: Install Divi Theme (if not installed yet)
Once you’ve downloaded the Divi theme package, login to your WordPress website and go to Appearance > Themes. Find and upload the Divi parent theme and activate it. Next click on the Add New Theme
Step 2: Install and activate Gardenly
Click on Upload Theme.

Click on Choose file.
In the downloaded package find and select gardenly.zip file, then click on the Install Now button.
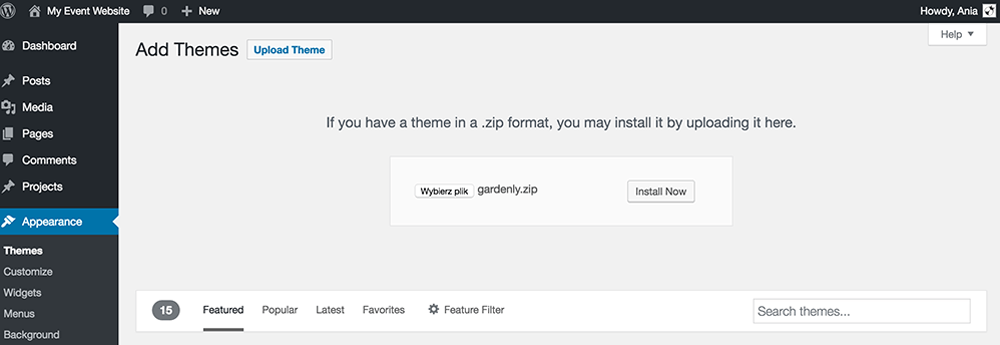
Completing the upload, you will need to activate the theme by clicking on the Activate button.
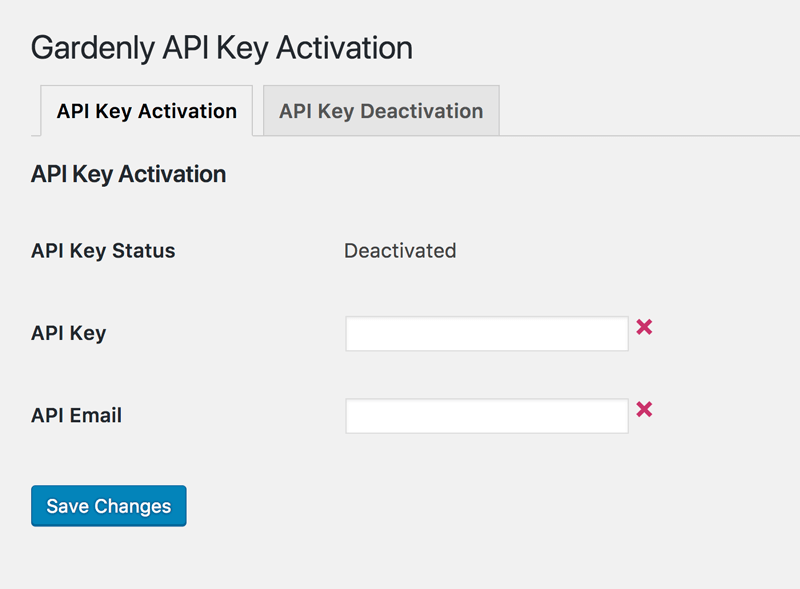
Step 3: Activate your product
To activate your product and get updates please go to Settings > Gardenly Activation and enter your API Key and API Email.
To see your API Keys please login to your account.
![]()
Step 4: Plugin activation
Gardenly requires 1 plugin that will allow you to import demo data with one-clik! We have made installing process very simple. After Gardenly child theme is activated system will ask you to install missed plugin. Click Begin installing plugin.

Next, select the plugin and choose Install from the drop-down menu under the plugin list and click Apply button. This will install and activate the One Click feature to import all the demo content and settings and the Divi Widget Builder Plugin.
Step 5: Permalinks setup
Go to Settings > Permalinks, select “Post name” and click Save Changes.

Go to Appearance > Import Data Demo, and click on the Import Demo Data button.
Note: This may take even several minutes, depends of internet connection speed. Please be patient.

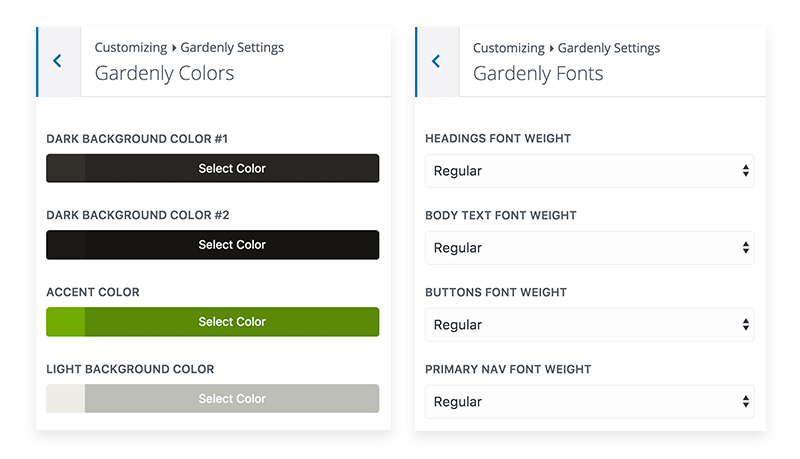
Your site should now look like Gardenly demo page. You can navigate to Divi Theme Customizer and click Gardenly Settings tab to change theme colors and fonts.
Elegant Themes
For additional assistance with using the Divi theme framework, Elegant Themes offers free technical support to all their members. Login to your account at Elegant Themes website.
Divi Communities
You can also find support on Facebook or Google+ by posting your questions in the community group:
Divi Theme | Extra Theme | Help & Share.
B3 Multimedia Solutions
For questions or support please visit your account and submit support ticket:
- API integration added
- automatic updates feature added
- import files updated
- Minor styling updates (buttons on hover) to fix issues with Divi 3.0.27 overriding styling.
- Fix bug with duplicated styles (from line 1 to 298)
- Minor styling updates (contact form fields)
- functions.php edits – Homepage and Blog page assign only once after import